Time To Make The Mods
Intro
In this tutorial, we will go through the process of creating a new mod for Natural Selection 2 and uploading it to the Steam Workshop. This tutorial assumes no prior knowledge of programming or modding (but both will certainly help!).
Launch Pad
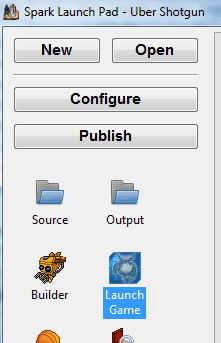
The first tool we will discuss is the Launch Pad. This is the application that will create and manage your mods as well as publish these mods to the Steam Workshop. This tool is called LaunchPad.exe and is located in the game's installation directory. On my computer, Launch Pad is located at: C:\Program Files (x86)\Steam\steamapps\common\Natural Selection 2\LaunchPad.exe
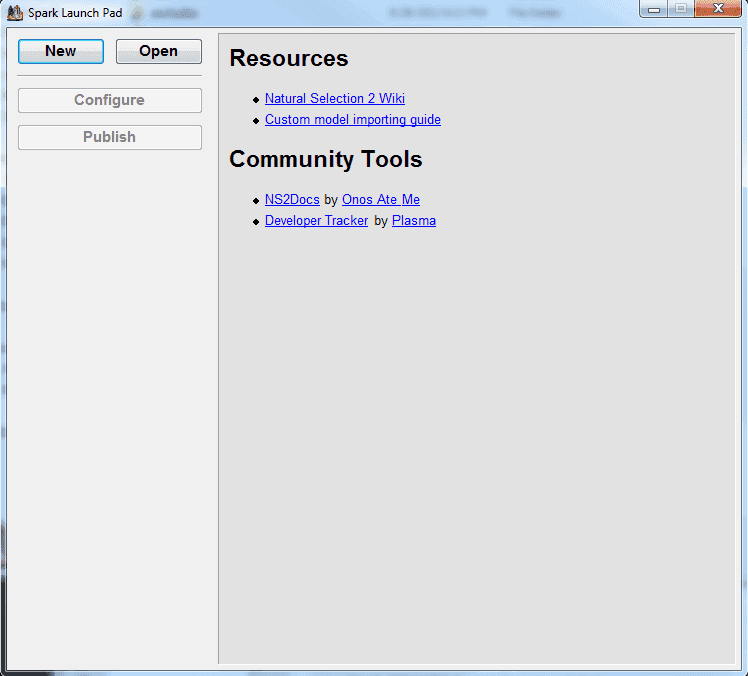
Once Launch Pad is open, go get some tea, use the bathroom if needed, and get ready because we are now MODDING.
Press the New button.
This will open the “Mod Wizard” dialog box:
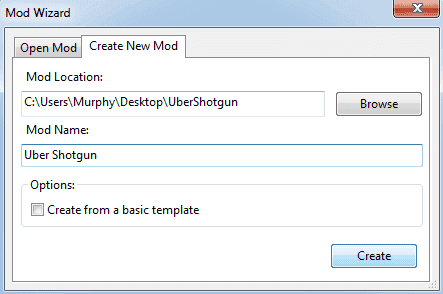
Choose a location for your project and a name. Press the Create button.
Builder
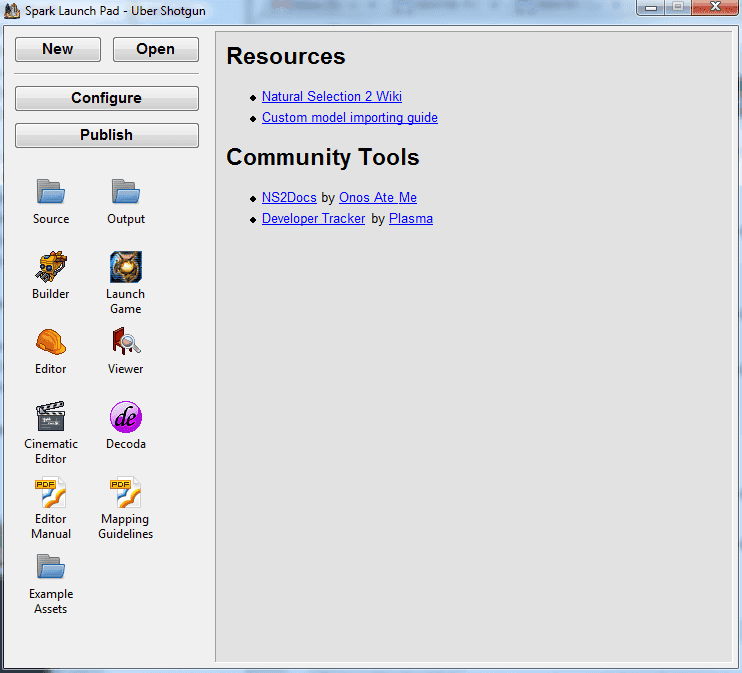
Launch Pad is now setup for the mod. The next task is to run Builder.
Double click on the Builder icon and you will see this window:
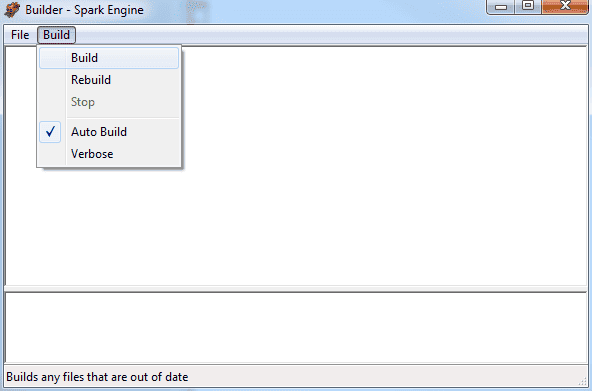
Click on the Build menu and then click Build.
This has built the mod into the output directory. While you are working on your mod, you should always have Builder running. It will run in the background if you close the window.
The Source
Go back to Launch Pad and double click on the Source icon. You will see this:
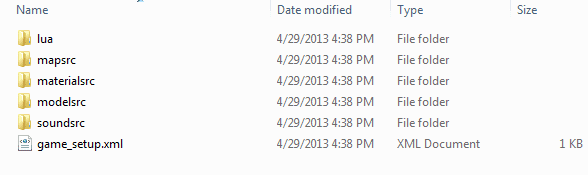
This is where all of the mod's source files will be located.
- lua is for Lua game code.
- mapsrc is for level files.
- materialsrc is where material files and textures will go.
- modelsrc is for your model and animation source files.
- soundsrc is for FMOD projects and wav files.
- game_setup.xml is a file that tells the game about your mod.
Game Setup
Open game_setup.xml in a text editor such as NotePad++:
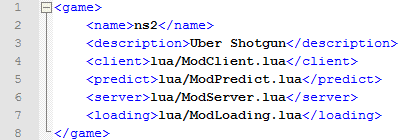
name is what will display in the server browser. If making a NS2 mod, it is best to leave this as ns2. If you are making a new game you should give it a small, unique name.
description is the full name of the mod.
client, predict, server, and loading are the “entry points” for executing your mod’s code.
There are also fields not included here for the main menu entry point (<startup>lua/Main.lua</startup>) and the icon to use for the mod. These will default to NS2 values so there is no need to add them.
Change the 7th line to:
<loading>lua/Loading.lua</loading> This will cause our mod to use the default loading screen code.
The File System
Now is a good time to discuss how the file system works in Spark. This is a very important concept to understand while modding.
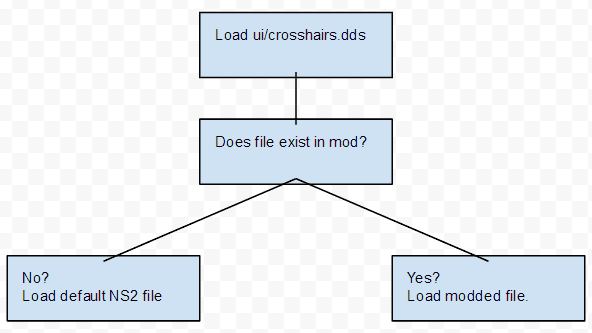
The file system is able to “mount” any number of directories as one virtual directory. As an example, the default NS2 installation includes a “ui” directory where all the user interface images in the game exist. But any number of mods may also have their own “ui” directory.
There is a file in the “ui” directory called “crosshairs.dds”. This is the image that contains the crosshairs for the different weapons and abilities in NS2.
So when the game code asks for “ui/crosshairs.dds”, this file will be loaded from the virtual file system.
If I create a mod that includes a “ui” directory, Spark will prioritize files in my mod’s directory over files in the default NS2 “ui” directory.
Entry Points
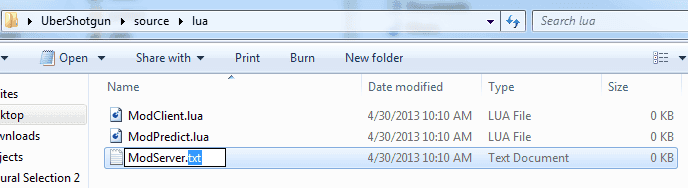
Next we need to create the ModClient.lua, ModPredict.lua, and ModServer.lua entry point files.
Go back to the Source directory and go into the lua directory. Create a new text file in the lua directory and rename it to ModClient.lua. Do the same for ModPredict.lua and ModServer.lua.
Programming!
The next step is to add code to these entry point files. We are going to simply make our mod use the NS2 code to start.
Open ModClient.lua and type the following:
Script.Load("lua/ModShared.lua") Do the same for ModPredict.lua and ModServer.lua.
Shared Code
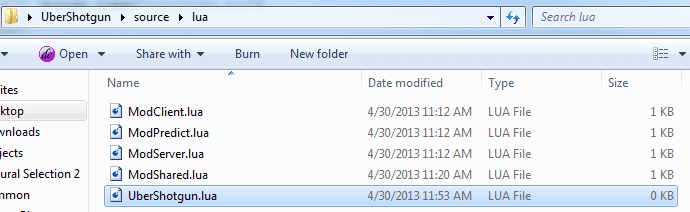
Create a new text file in the lua directory called ModShared.lua.
Open this file and type the following:
if Server then Script.Load("lua/Server.lua")elseif Client then Script.Load("lua/Client.lua")elseif Predict then Script.Load("lua/Predict.lua")end Script.Load("lua/Class.lua") -- Load mod files here.
This tutorial is not going to explain how to program or how to use Lua. For that, your best bet is reading Programming in Lua and/or a Google search.
I will cover what the code is doing however.
What's Going On Here?
if Server then Script.Load("lua/Server.lua")elseif Client then Script.Load("lua/Client.lua")elseif Predict then Script.Load("lua/Predict.lua")end
These 7 lines of code are loading the default NS2 entry point scripts based on which VM is currently running.
The VM (Virtual Machine) is the context for the code currently executing. The primary VMs we will deal with in this tutorial are: Server, Client, and Predict.
Ultimately these lines of code are simply checking if a Lua table exists and then loading the appropriate entry point script based on that. These Lua tables are automatically created by the engine before your mod’s code executes.
Script.Load("lua/Class.lua")
This script is part of the modding framework. It should be loaded AFTER the default NS2 code is loaded.
-- Load mod files here.
This line is a comment (it is ignored while this script is parsed by the engine). We will include our mod’s code here later.
Execute!
At this point, we technically have a mod we can execute.
Go back to the Launch Pad and double click on the Launch Game button.
You will see the normal NS2 main menu except you will see your mod’s description in the title bar (I suggest using windowed mode while developing your mod).
Open the console with the ~ key and type map ns2_summit and then press enter.
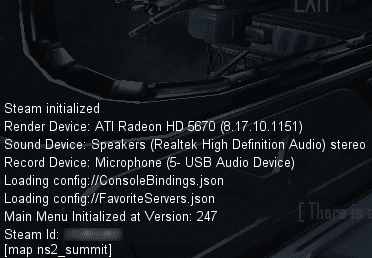
After loading, you will be in Summit and everything should be working like it normally does in NS2 except the game is running your mod.
Good work!
Uber Shotgun Time
Now let’s change something.
Create a new text file in the lua source directory and name it UberShotgun.lua
Go back into the ModShared.lua file.
Add this after the comment:
-- Load mod files here.Script.Load("lua/UberShotgun.lua")
Open the UberShotgun.lua file and type the following:
function Shotgun:ApplyBulletGameplayEffects(player, hitEnt, impactPoint, direction, damage, surface, showTracer) if HasMixin(hitEnt, "Fire") then hitEnt:SetOnFire(player, self) end end
Testing The Change
Go back into Launch Pad and double click on the Launch Game button.
Open the console with the ~ key and type map ns2_summit and then press enter.
Once in the game, open the console again and type cheats 1.
Then join the Marines. Open the console and type give shotgun.
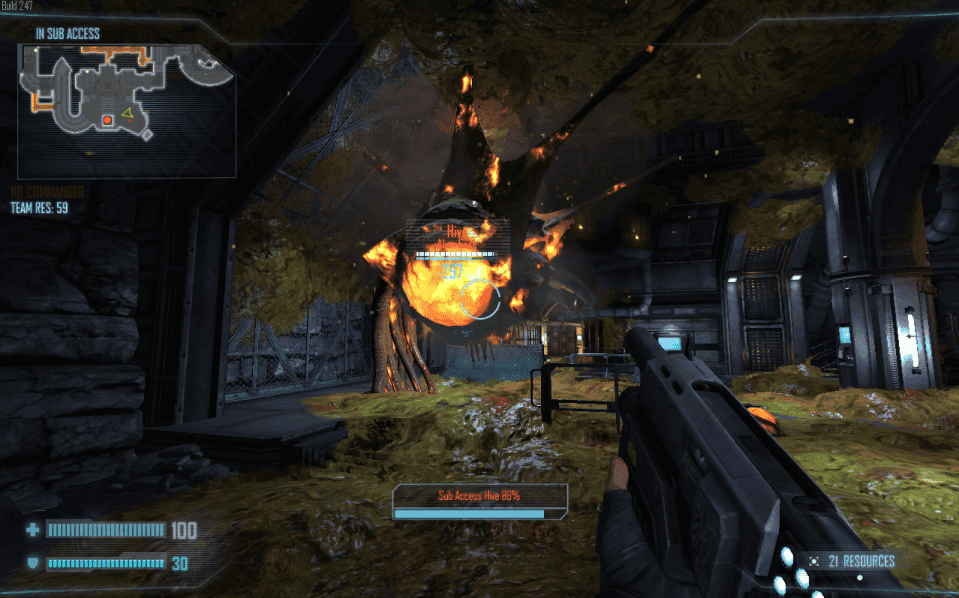
Now go find the Alien base and start shooting.
Publishing
The last step is to publish the mod to the Steam Workshop.
Go back to the Launch Pad and press the Configure button.
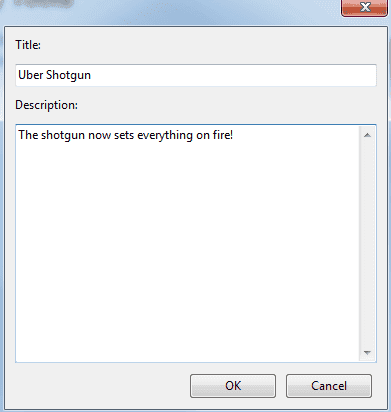
Enter in a title for your mod and a description and then press OK. Next, click the Publish button.
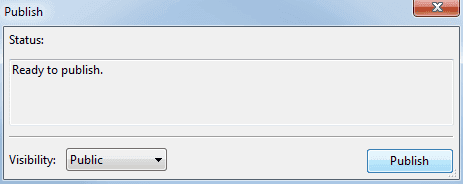
You can change the visibility to Friends Only or Private when you are testing your mod.
When ready, press the Publish button here to upload your mod to the Steam Workshop.
After that finishes, your mod is now on the Workshop.
Conclusion
That covers the basics! I hope this tutorial has given you an idea of how the modding tools work and what is possible in your own mods.
Thanks for reading!


